Enabling/Disabling Protected View in Microsoft Office 2010 - 2016
Modified:
03/02/2020
|
Software Use and Troubleshooting
|
#38117
Categories
Microsoft Office
|
Enabling/Disabling Protected View in Microsoft Office 2010 - 2016
Question:
How do I enable/disable protected view in Microsoft Office 2010 - 2016?
Answer:
To change your protected view settings perform one of the following:
Method One
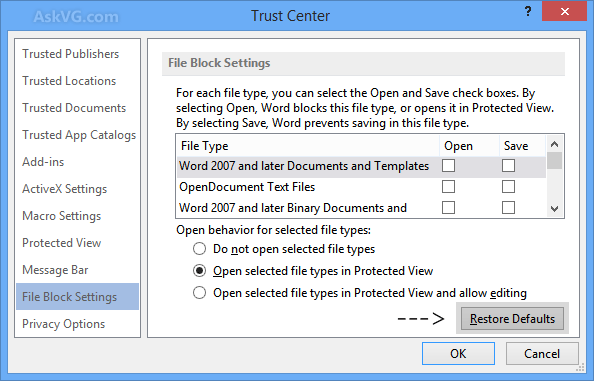 Note: If you want to take advantage of this security feature in a customized way, you can go back to step 6 and set specific Trusted Publishers, Locations and Documents right from this Window. Unfortunately, you need to apply these setting to each Microsoft Office application individually.
Additional Information:
For additional information, please see the related article(s).
We welcome and appreciate your feedback!
Privacy Policy |
Website Terms and Conditions |
University of Phoenix Trademark Usage
Copyright © 2018 University of Phoenix |
Subscribe
Enter your email address to receive a notification when the article is updated
Email Address
Related Answers